
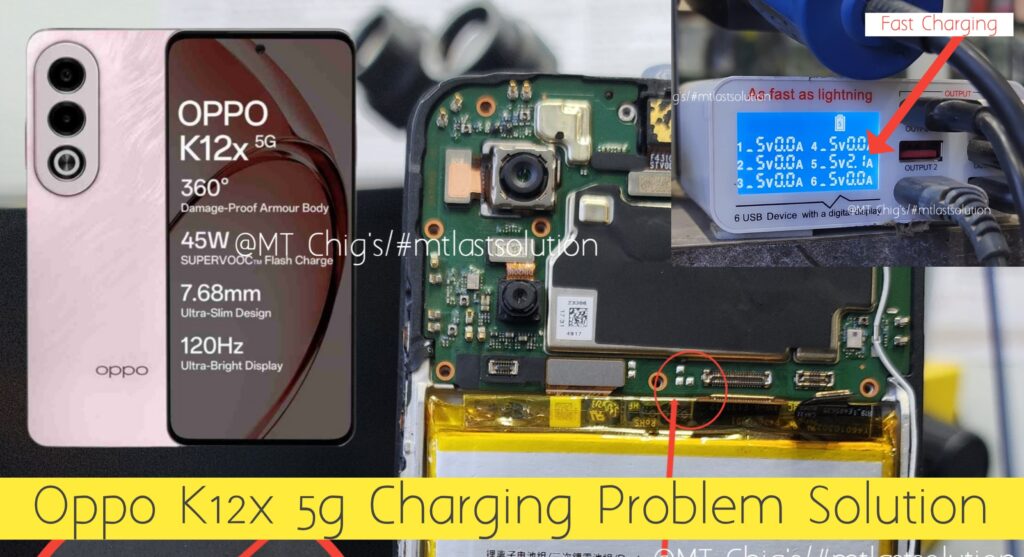
If your Oppo K12x 5G smartphone is not charging, doesn’t show the charging icon, or only charges when the cable is adjusted, this guide is for you. In this article, we will show you the exact charging jumper solution using motherboard and sub-board jumper technique.
⚠ Warning: This is a hardware-level repair. Attempt only if you have experience with soldering and mobile board work. Otherwise, consult a technician.
📱 Common Charging Problem Symptoms
- No response when charger is connected
- Charging icon doesn’t appear
- Phone heats up but doesn’t charge
- Charging starts only when the cable is bent
- Slow or intermittent charging

🧰 Tools You’ll Need
- Soldering iron with flux
- Multimeter
- Thin jumper wire (copper)
- Precision screwdriver set
- Tweezers, magnifying glass
- PCB cleaner and brush
- Plastic pry tools, optional heat gun
🔍 Step-by-Step Charging Jumper Solution
🔓 Step 1: Disassemble the Device
- Turn off the phone and remove the SIM tray.
- Unscrew and open the back cover using a plastic tool.
- Disconnect the battery first.
- Remove the charging sub-board (bottom board).
- Disconnect the interconnect cable between charging board and motherboard.
📏 Step 2: Test Using Multimeter
- Set your multimeter to DC voltage mode.
- Connect the charger to the phone.
- Check for VBUS 5.0 Voltage on the charging sub-board.
- If VBUS 5.0 Voltage is not reaching the motherboard, the charging track is broken.
- You’ll need to make a jumper connection manually.
⚙ Step 3: Locate Jumper Points (As per Reference Image)
Charging Sub-Board: Identify the VBUS 5.0 Voltage track near the Type-C port. Gently scratch to expose copper line. (Marked as inside scratch Charging Board VBUS 5.0 Voltage)
Motherboard: Locate the VBUS 5.0 Voltage input area near the battery connector. Scratch the coating to reveal copper track. (Marked as inside scratch Motherboard VBUS 5.0 Voltage)
🔗 Step 4: Solder Jumper Wire
- Cut an appropriate length of thin copper wire.
- Apply flux on both ends.
- Solder one end to the VBUS 5.0 Voltage point on charging board.
- Route the wire neatly to the VBUS 5.0 Voltage point on motherboard.
- Solder the other end securely.
- Use tape or glue to secure the wire and prevent shorts.
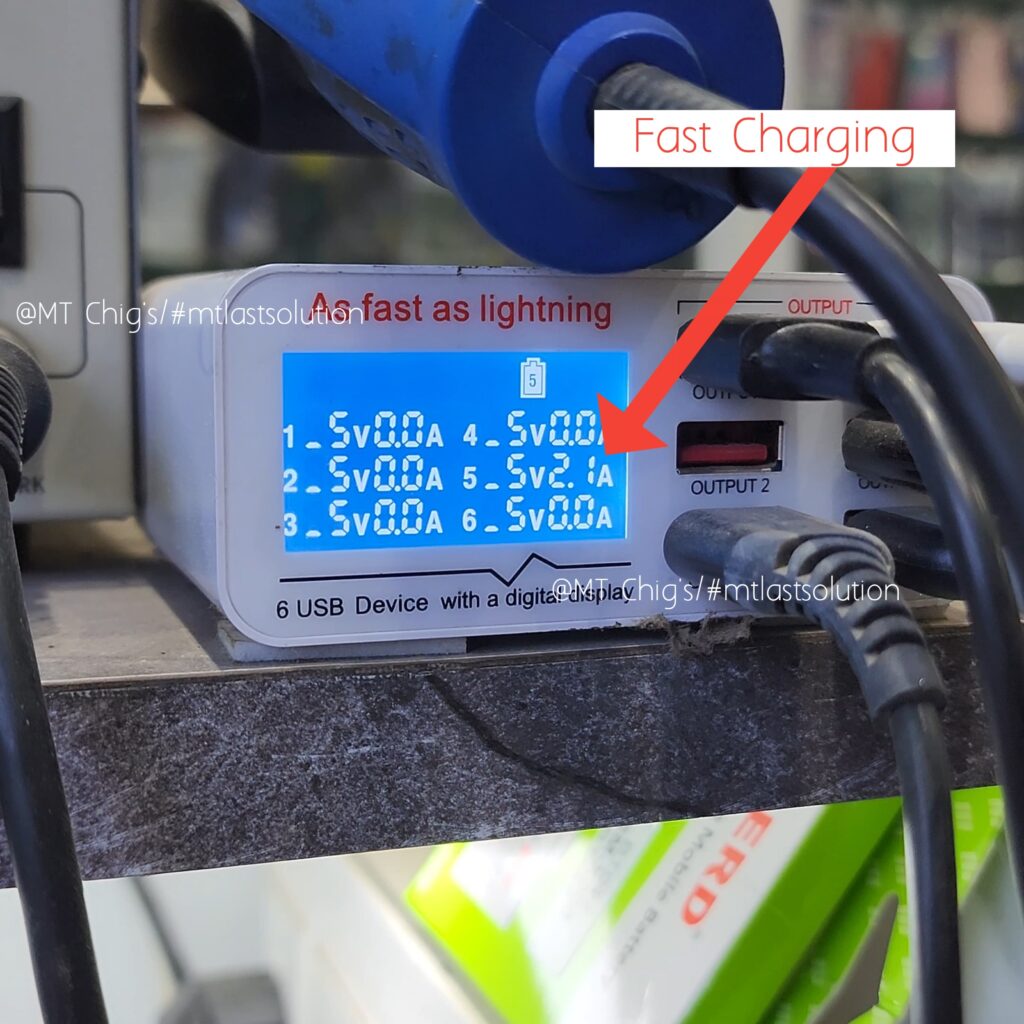
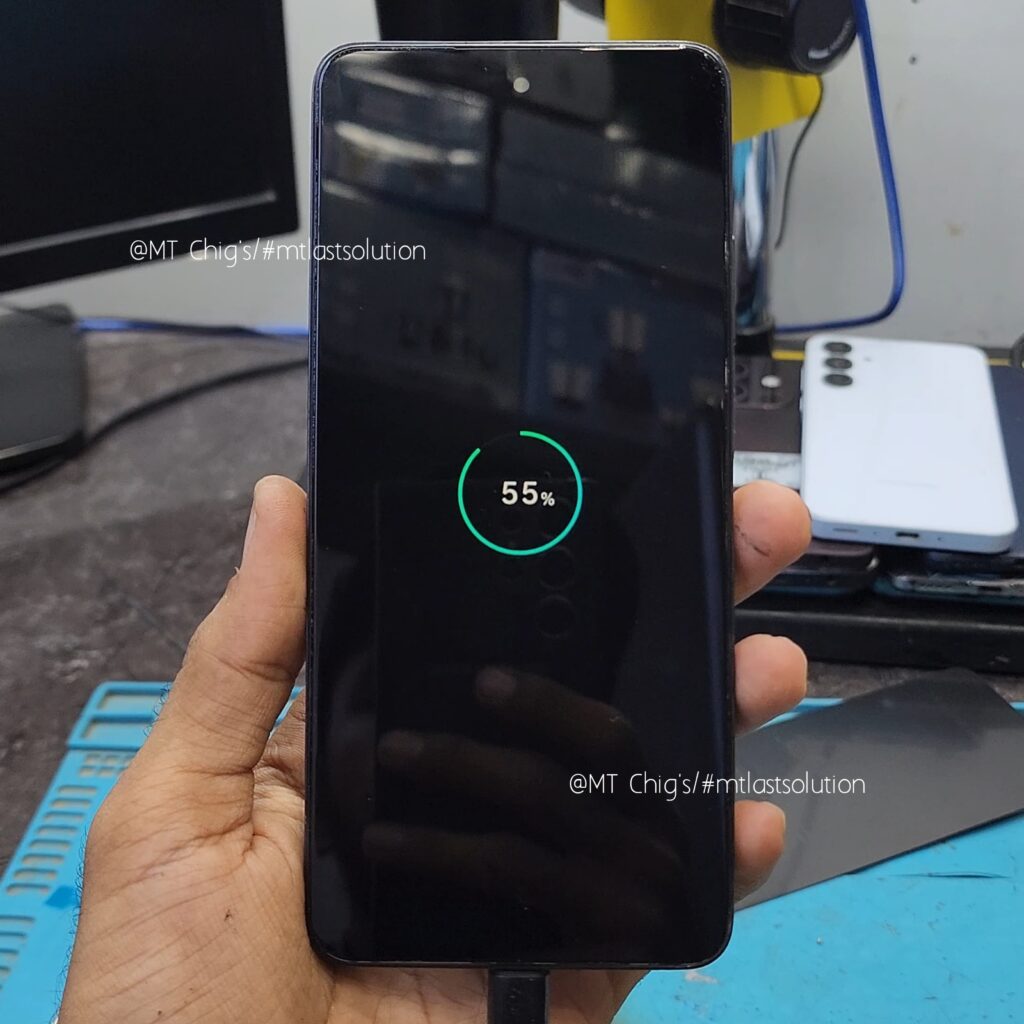
⚡ Step 5: Testing
- Reconnect the battery and interconnect cable.
- Plug in the charger and see if charging starts.
- Use multimeter or Ampere app to check VBUS 5.0 Voltage and current.
🧱 Step 6: Reassemble the Phone
- Once confirmed, disconnect battery and remove charger.
- Screw back the charging board and connect all flex cables.
- Reattach the back cover and power on the device.
- Do a final charging test.
✅ Final Checklist
- Charging should be stable and fast (check via Ampere app).
- No overheating around the charging port.
- Jumper wire should be neat, fixed, and short-free
❓ Frequently Asked Questions
Q1: Will this work on other Oppo models?
Yes, many Realme/Oppo models with similar PCB design can use the same concept.
Q2: What if the sub-board is damaged?
Replace it before trying the jumper method.
Q3: Is the jumper safe for long-term use?
Yes, if soldered correctly and properly insulated.
🏁 Conclusion
The Oppo K12x 5G charging issue is often caused by a broken VBUS 5.0 Voltage line between the charging sub-board and the motherboard. By carefully applying a jumper as shown in the reference image, you can fully restore charging functionality. This is a tried-and-tested solution used by expert technicians.